7.2. Agent Debugging
This chapter contains debugging information for the ASGARD Agent.
7.2.1. SLES 11 Installation
On older SLES (SUSE Linux Enterprise Server) versions, the installation of the ASGARD Agent might fail with the following error:
error: Failed dependencies:
     rpmlib(FileDigests) <= 4.6.0-1 is needed by asgard2-agent-1-1.6.5.x86_64
To work around this error safely, add the --nodeps flag when installing
the package:
user@sles11:~$ sudo rpm -ivh --nodeps asgard2-agent-linux-amd64.rpm
   Preparing...                ########################################### [100%]
      1:asgard2-agent          ########################################### [100%]
user@sles11:~$
7.2.2. Aurora Diagnostics Pack
If Aurora does not behave as expected, for example, if it uses more resources
than expected, you can create a diagnostics pack for Nextron Support. Use the
playbook [Default] Create and Collect Aurora Agent Diagnostics Pack (Windows).
It can be run from Asset Management > Response Action (Play button)
or from Response Control > Tasks > Add Task. If needed, run it as
a group task. The resulting diagnostics.zip can be downloaded
from the third step in the Playbook Result tab of the expanded task.
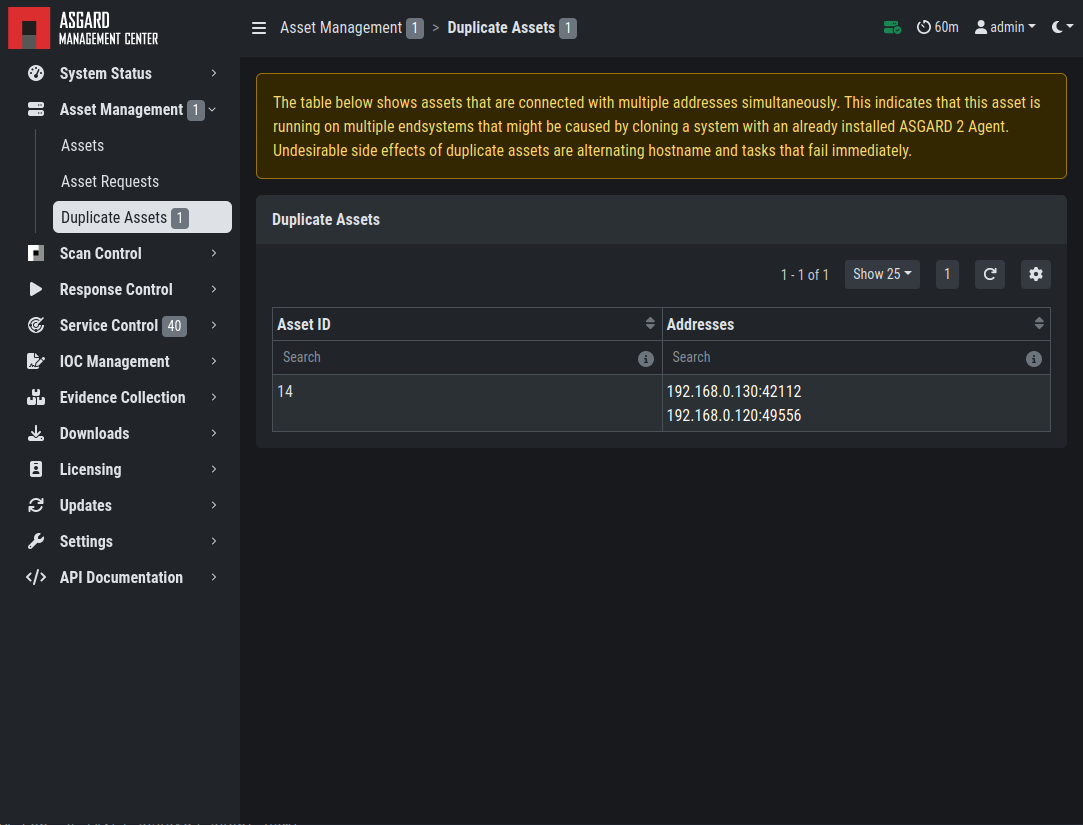
7.2.3. Duplicate Assets Remediation
The Duplicate Assets view in your Management Center lists assets that
appear to be active on multiple endpoints at the same time, often due to
system cloning. This can cause issues such as changing hostnames and failing
tasks. Deleting these duplicate assets allows each endpoint to reconnect as a
new asset with its own authentication, resolving these problems.
Troubleshooting Duplicate Assets
To fix the issue, follow the instructions in your Management Center.
Important
Endpoints will reconnect as new assets. Previous scan history will remain attached to the old/deleted asset, so the new endpoints will appear without history.